Introduction
Unity is one of the most popular game engines used by developers worldwide. It offers an extensive range of features and tools that make it easy to create 3D games of all shapes and sizes. However, when it comes to creating realistic gunfire, many developers struggle to achieve the desired effect. In this article, we will show you how to create a 3D muzzle flash effect in Unity that will make your gunfire look and sound more authentic.
Understanding Muzzle Flash Effects
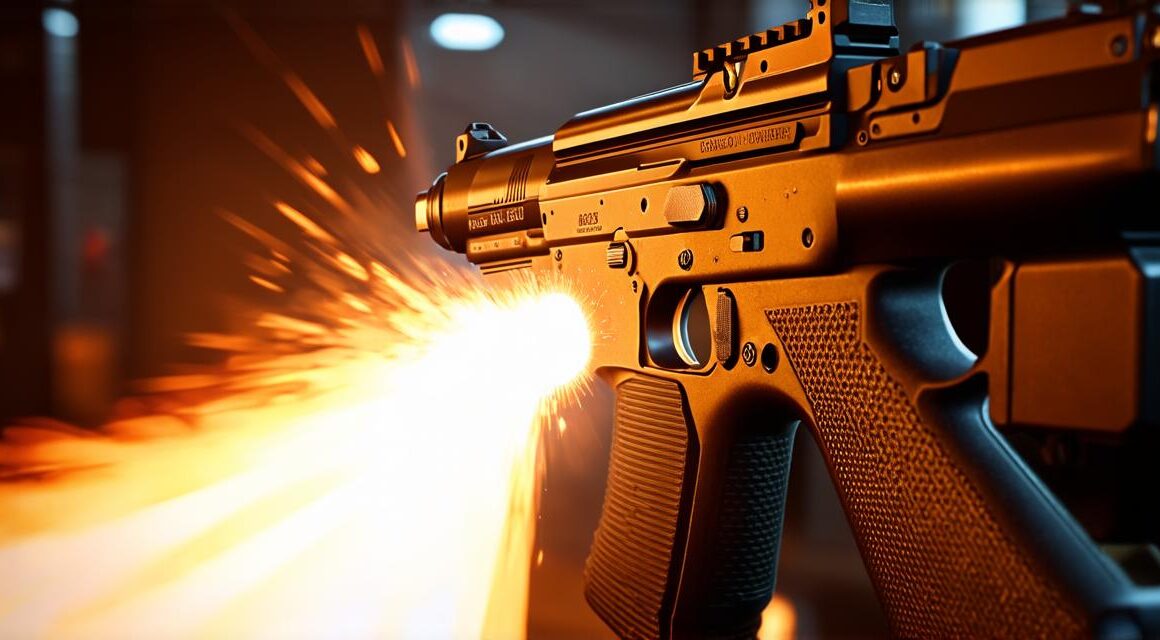
Before we dive into the specific steps required to create a 3D muzzle flash effect in Unity, let’s first understand what it is. A muzzle flash is the light that emits from the barrel of a gun when it is fired. This light can range from a simple white or yellow glow to a more complex pattern that simulates the explosion of the bullet. Muzzle flashes are essential for creating realistic gunfire in 3D games, as they provide visual feedback to the player and help them immerse themselves in the game world.
Creating a 3D Muzzle Flash Effect in Unity
Now that we have a better understanding of what muzzle flashes are let’s explore how to create one in Unity.
Step 1: Create a Material for the Muzzle Flash
- In your Unity project, go to the “Assets” menu and select “Create” > “Material.”
- In the new material editor, click on the “Albedo” tab and select a color for your muzzle flash.
- Next, click on the “Emission” tab and set the value to 1.0. This will make the light fully visible.
- Finally, click on the “Inspector” window and create a new script called “MuzzleFlash.” This script will be used to control the behavior of the muzzle flash.

Step 2: Create a Particle System for the Muzzle Flash
- In your Unity project, go to the “Window” menu and select “Particle System.”
- In the new particle system editor, click on the “Main” tab and set the following properties:
- Shape: Set to “Sphere”
- Albedo Color: Select the material you created in Step 1
- Duration: Set to a value that suits your needs (e.g., 0.5 seconds)
- Speed: Set to a value that creates a realistic motion for the muzzle flash
- Next, click on the “Emitter” tab and set the following properties:
- Position: Set to the position of the gun barrel
- Rotation: Set to the rotation of the gun barrel
- Time: Set to 0
- Finally, click on the “Timeline” tab and add a new event at the end of the duration you set in Step 2. This event will control when the particle system stops emitting particles.
Step 3: Create a Script to Control the Muzzle Flash
- Create a new C# script in your Unity project and name it “MuzzleFlash.”
- In the “MuzzleFlash” script, add the following code:
csharp
using UnityEngine;
public class MuzzleFlash : MonoBehaviour
{
public ParticleSystem muzzleFlashParticles;
void Start()
{
// Play the muzzle flash particle system when the script is started
muzzleFlashParticles.Play();
}
}
Note: This is just an example of a simple script to control the muzzle flash. You may need to modify this script based on your specific needs and game logic.
Step 4: Attach the Script to the Gun Barrel Object
- Select the gun barrel object in your Unity scene.
- In the “Inspector” window, attach the “MuzzleFlash” script to the gun barrel object.
Now, when you fire the gun in your game, the muzzle flash particle system will play automatically, creating a more realistic and visually stunning effect.


