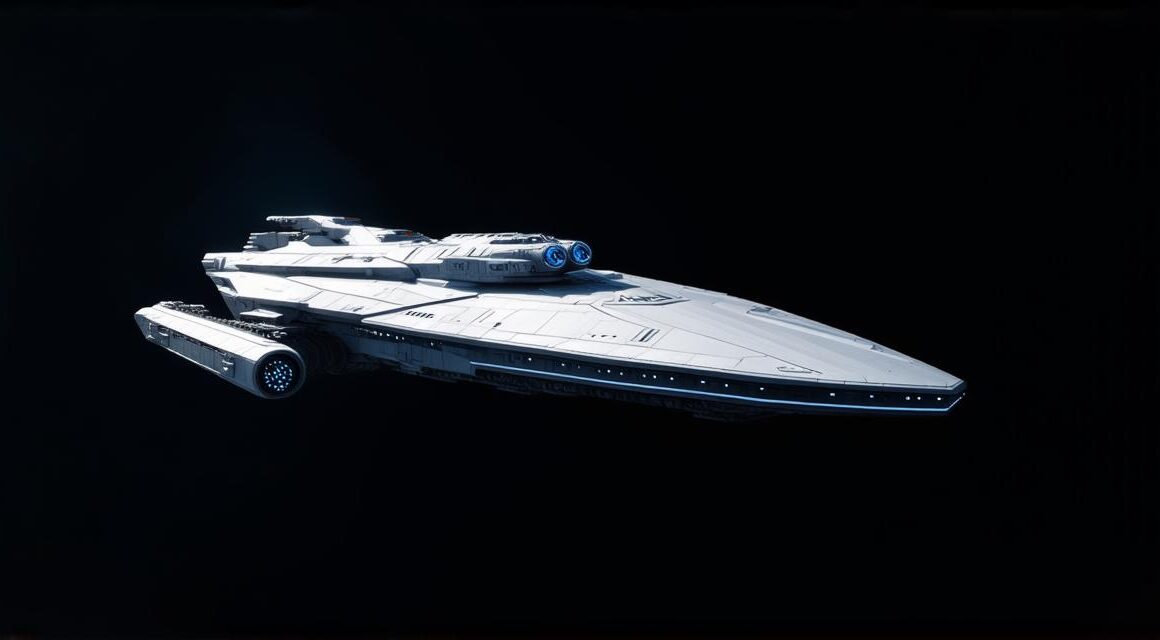
Are you an aspiring Unity 3D developer looking to create your first game project? Are you tired of watching other developers launch successful games while you struggle with getting started? Look no further! In this article, we will guide you through the process of launching your first Unity 3D spaceship game from scratch. We’ll cover everything from setting up your development environment to creating a unique and engaging spaceship game.
Why Choose Unity 3D for Your Game Project?
Unity 3D is a powerful and popular game engine that allows developers to create games for a wide range of platforms, including PCs, consoles, mobile devices, and more. It has a vast library of tools and assets, making it easy for beginners to get started with game development. Additionally, Unity 3D is constantly being updated and improved, ensuring that you have access to the latest features and capabilities.
Setting up your development environment:
- Download Unity 3D from the official website (https://unity.com/products/editor) and install it on your computer.
- Make sure you have the latest version of .NET installed on your computer. You can download it from the Microsoft website (https://dotnet.microsoft.com/).
- Install Visual Studio, a popular integrated development environment (IDE) used by Unity 3D developers. You can download it from the Microsoft website (https://visualstudio.microsoft.com/).
-
Create a new project in Unity 3D and name it “Spaceship Game.”
-
Choose a template for your game, such as 2D or 3D, and select the appropriate settings for your game’s resolution and aspect ratio.
Creating the spaceship:
-
Create a new 3D object in Unity 3D by going to GameObject > 3D Object > Cylinder or Sphere. Name the object “Spaceship.”
-
Add a Mesh Filter and a Rigidbody component to the spaceship object. You can do this by selecting the object in the Hierarchy view, then going to Component > Physics > Rigidbody or Component > Renderer > Mesh Filter.
-
Create a new material for your spaceship by going to Assets > Create > Material. Name the material “Spaceship Material” and set the color to your desired shade of gray.
-
Apply the material to the spaceship object by selecting it in the Inspector view, then dragging and dropping it onto the spaceship object in the Hierarchy view.
-
Add a script to the spaceship object that will control its movement. You can do this by going to Assets > Create > C Script or by right-clicking on the object in the Hierarchy view and selecting Add > Component > Script. Name the script “SpaceshipController.”
-
In the script, write code that will allow the spaceship to move forward, turn left and right, and stop when it hits a wall or other obstacle. Here’s an example of what the code might look like:
<h2>using UnityEngine;</h2>
public class SpaceshipController : MonoBehaviour
{
    public float speed  10.0f;
    private Vector3 velocity  Vector3.zero;
    void Update()
    {
        // Check for input
        if (Input.GetKeyDown(KeyCode.LeftArrow))
        {
            // Move the spaceship left
            transform.position + new Vector3(-speed, 0, 0);
            velocity  new Vector3(-speed, 0, 0);
        }
        else if (Input.GetKeyDown(KeyCode.RightArrow))
        {
            // Move the spaceship right


            transform.position + new Vector3(speed, 0, 0);
            velocity  new Vector3(speed, 0, 0);
        }
    }
    void FixedUpdate()
    {
        // Update the spaceship's position based on its velocity
        transform.position + velocity * Time.deltaTime;
        // Check for collisions
        if (Physics.SphereCast(transform.position, 1, out RaycastHit hit, 100, LayerMask.GetMask("Obstacle")))
        {
            // Stop the spaceship when it hits an obstacle
            velocity  Vector3.zero;
        }
    }
}


