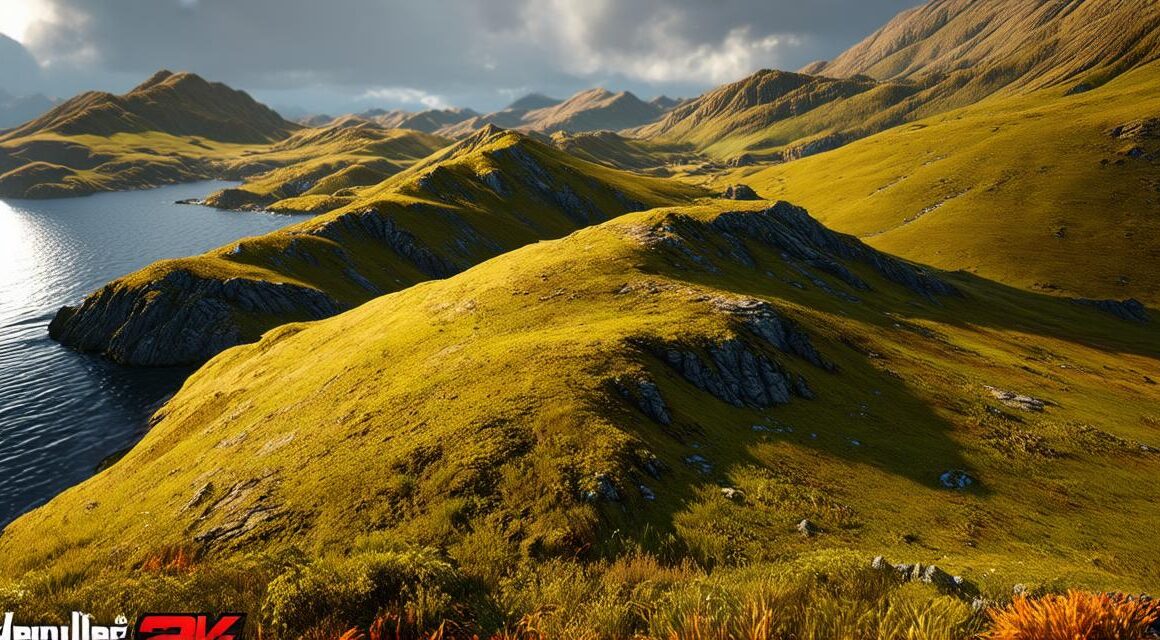
Welcome to the world of 3D Unity terrain textures! In this article, we will explore how to create stunning landscapes using these powerful tools. We’ll cover everything from the basics of terrain textures to advanced techniques for creating realistic environments. By the end of this guide, you’ll have the skills and knowledge to create breathtaking 3D worlds that will leave your audience in awe!
What are Terrain Textures?
Terrain textures are an essential part of any 3D environment. They give depth and detail to the landscape, allowing for more realistic lighting and shadows. In Unity, terrain textures can be created using a variety of tools and techniques, including 2D image maps, heightmaps, and noise functions.

The Basics of Terrain Textures
Before we dive into the advanced techniques, let’s first cover the basics of creating terrain textures in Unity.
Creating a Basic Terrain
To create a basic terrain, you’ll need to start with a heightmap. This is a 2D image that contains information about the height and shape of your landscape. You can download pre-made heightmaps or create your own using tools like World Machine or Photoshop.
Once you have your heightmap, you can import it into Unity and use it to create a basic terrain object. To do this, go to Assets > Import Package > Custom Package and select the heightmap file. Then, create a new GameObject and add a Terrain component to it. Finally, drag the heightmap onto the Terrain component to apply it to the terrain.
Adding Texture to the Terrain
Once you have your basic terrain, you can add texture to give it depth and detail. There are two main types of texture that you’ll use when creating terrain textures: image maps and noise functions.
Image maps are 2D images that contain information about the color and texture of the terrain. You can create your own image maps using tools like Photoshop or download pre-made ones from online marketplaces. To add an image map to your terrain, simply drag it onto the Terrain component in the Inspector window.
Noise functions are mathematical algorithms that generate random textures based on a set of parameters. These can be used to create things like rocks, dirt, and grass. To add a noise function to your terrain, go to Assets > Create > Texture > 2D and select the Noise texture type. Then, adjust the settings in the Inspector window to create the desired effect.
Lighting and Shadows
Lighting and shadows are crucial for creating realistic landscapes. To add lighting to your terrain, you can use Unity’s built-in light sources or import custom ones from third-party tools like HDRI Skies. You can also adjust the settings on the light source to create different effects, such as sunrise or sunset.
Shadows are created by the interaction of light and objects in your scene. To add shadows to your terrain, you’ll need to enable shadow casting on any objects that are blocking light from the light source. You can also adjust the shadow settings to create different effects, such as soft shadows or hard edges.
Advanced Techniques for Creating Realistic Terrain Textures
Now that we have covered the basics of creating terrain textures, let’s dive into some advanced techniques for creating realistic environments.
Using Masks
Masks are a powerful tool for controlling which parts of your terrain are affected by certain textures or effects. You can create masks using the Paintbrush tool in Photoshop or other image editing software. Once you have your mask, you can import it into Unity and apply it to specific parts of your terrain using the Mask property in the Inspector window.


