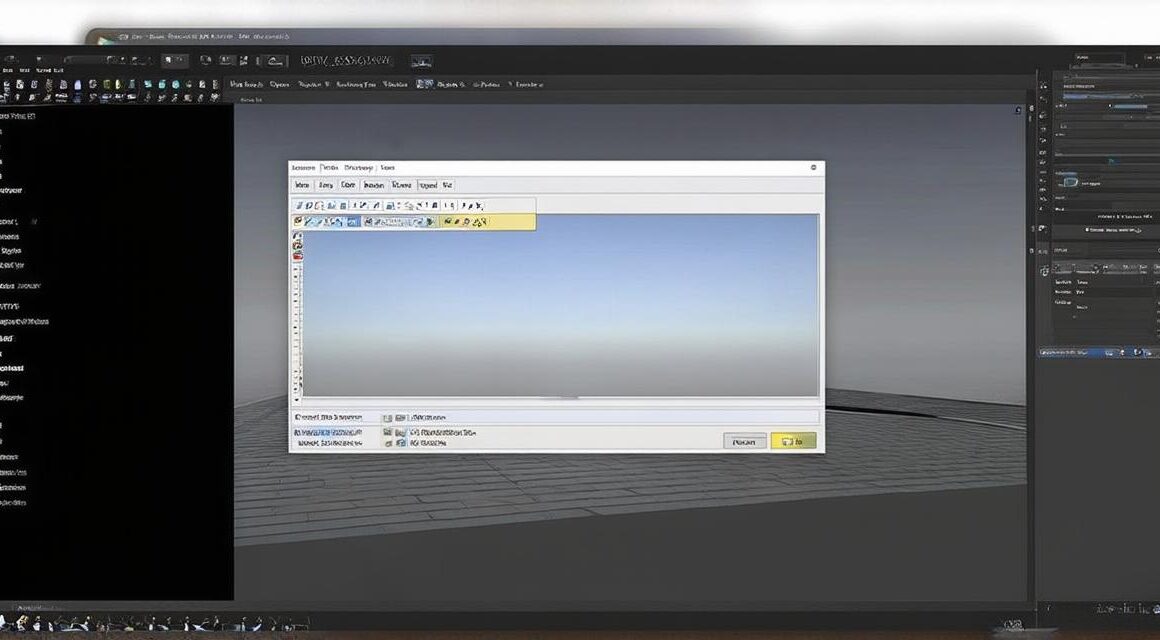
Introduction:
Creating 3D animation is a complex process that requires a combination of creativity and technical skills. One of the most popular software for creating 3D animations is Unity, which is used by professionals and beginners alike to create engaging games and interactive experiences.
Chapter 1: Setting Up Your Project
Before you start creating your animation, you need to set up your project in Unity. Here are the steps to follow:
- Download and install Unity from the official website.
- Open Unity and create a new project.
- Choose the type of game or experience you want to create.
- Select the 3D graphics template and click on “Next”.
- Give your project a name, set your preferred location, and select your default assets.
- Click on “Create Project” to start your project.
Chapter 2: Understanding Unity’s Animation Tools
Unity comes with a variety of tools for creating 3D animation, including the Animator window and the Sprite Renderer. Here is an overview of these tools:
- Animator Window: The Animator window is where you create and control your animations in Unity. It allows you to set up animations using keyframes, curves, and blending modes. You can also import animations from external software like Maya or Blender into Unity.
- Sprite Renderer: The Sprite Renderer is used for rendering 2D sprites in your game. You can use this tool to create animations using sprite sheets or individual sprites.
Chapter 3: Creating Your Animation
Now that you have set up your project and understand Unity’s animation tools, it’s time to start creating your animation. Here are the steps to follow:
- Create a new layer in the Hierarchy view.
- Drag an object onto the layer to create an animation for it.
- In the Animator window, click on the “Create” button to create a new animation clip.
- Give your animation a name and choose where to save it.
- In the Animation window, select the object you created a layer for and click on the “Record” button to start recording your animation.
- Move the object through space and perform any actions you want to include in your animation while recording.
- When you are finished recording, click on the “Stop” button to stop recording.
- You can now play back your animation by clicking on the “Play” button in the Animator window.
Chapter 4: Adding Interactions
One of the key features of 3D animation is interactivity. You can add interactions to your animation using Unity’s scripting tools. Here are the steps to follow:
- Create a new C script and open it in your favorite code editor.
- Write the script to add interaction to your animation. For example, you could write a script that changes the speed of an object when the player interacts with it.
- Attach the script to the object you want to add interaction to.
- In the Animator window, select the object and click on the “Apply” button to apply the script.
- Now you can test your animation with the added interaction by playing back the clip in the Animator window.
Chapter 5: Optimizing Your Animation
When creating 3D animation in Unity, it’s important to optimize your animations to ensure smooth gameplay and performance. Here are some tips for optimizing your animation:
- Use baked animations instead of real-time animations whenever possible. Baked animations are pre-rendered and can be played back without requiring additional processing power.
- Use compression techniques like texture atlases to reduce the size of your animations.
- Reduce the number of objects in your scene by using particle systems or other effects instead of multiple objects.
- Use LOD (Level of Detail) to reduce the complexity of your animations for far-away objects.
Chapter 6: Real-Life Examples
To help illustrate how to create 3D animation in Unity, let’s take a look at some real-life examples.
Summary:
Creating 3D animation in Unity is a fun and rewarding process that requires creativity, technical skills, and attention to detail. With the tools and techniques covered in this guide, you can start creating your own engaging animations in no time. Remember to optimize your animations for smooth gameplay and performance, and don’t be afraid to experiment with different styles and techniques to find what works best for your project.
FAQs:
What software do I need to create 3D animation in Unity? You will need a computer with Unity installed on it.
Can I use my own animations in Unity? Yes, you can import animations from external software like Maya or Blender into Unity.
How do I add interactions to my animation in Unity? You can create C scripts to add interactivity to your animations in Unity.
Can I optimize my animations for performance in Unity? Yes, you can use techniques like baked animations and texture atlases to reduce the size of your animations and improve performance.


