Introduction:
Unity is one of the most popular game engines in the world, thanks to its user-friendly interface and extensive library of assets. But when it comes to textures, Unity can be quite expensive. High-quality textures can significantly enhance the visuals of your 3D models, but they often come at a premium price. In this article, we’ll explore some free alternatives to help you create stunning visuals without breaking the bank.
Heading: Understanding Textures in Unity
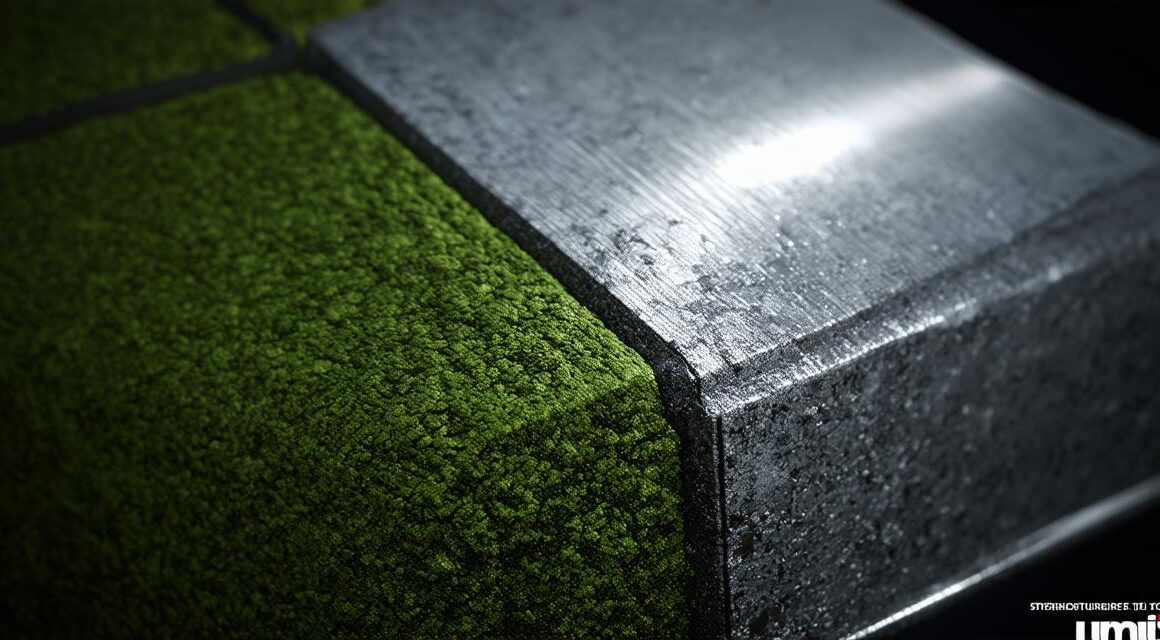
Textures are images that are applied to 3D objects in Unity. They can be used to add detail and depth to your models, making them look more realistic. But with so many different types of textures available, it’s easy to get overwhelmed. In this section, we’ll briefly touch on some of the most common types of textures you’ll encounter in Unity, including:
- Diffuse textures: These are the most basic type of texture and are used to add color to your 3D objects. They can be made up of single or multiple images.
- Normal maps: These are used to simulate the surface normals of a 3D object, giving it a sense of depth and dimensionality.
- Specular maps: These are used to create shiny or reflective surfaces on your 3D objects.
- Reflection maps: These are used to create mirrored surfaces on your 3D objects.
- Roughness maps: These are used to add a sense of texture or imperfection to your 3D objects.
Heading: Free Alternatives to Paid Textures
Now that you have a basic understanding of textures in Unity, let’s take a look at some free alternatives to paid textures. There are many websites and resources available online where you can find high-quality textures for free, including:
- Unity Asset Store: While not strictly free, the Unity Asset Store offers a wide range of textures at affordable prices. You can also find free assets and plugins on the store to help enhance your 3D projects.
- CG Texture: This website offers a vast collection of high-resolution textures for free, including diffuse, normal, specular, and reflection maps. The textures are available in various formats and resolutions, making them easy to integrate into your Unity projects.
- Pixabay: This popular stock photography site also features a collection of textures that you can use for free in your 3D projects. The textures are high-quality and cover a wide range of topics, from nature to technology.
- DeviantArt: This website is home to a large community of artists who create and share their work, including textures. You can find free textures on DeviantArt that are perfect for use in your Unity projects.

Heading: How to Use Free Textures in Unity
Once you’ve found the textures you want to use, the next step is to integrate them into your Unity project. Here are some tips and tricks to help you get started:
- Import the texture files into your Unity project using the “Assets” menu or by dragging and dropping the files into the Project window.
- Assign the textures to the appropriate 3D objects in your scene using the “Inspector” window. You can do this by selecting the object in the Hierarchy view and then assigning the texture to it in the “Texture” section of the Inspector.
- Adjust the settings for the texture, such as its scale, rotation, and position, to ensure that it fits properly on your 3D object.
- Experiment with different textures and combinations to achieve the desired look and feel for your project.


