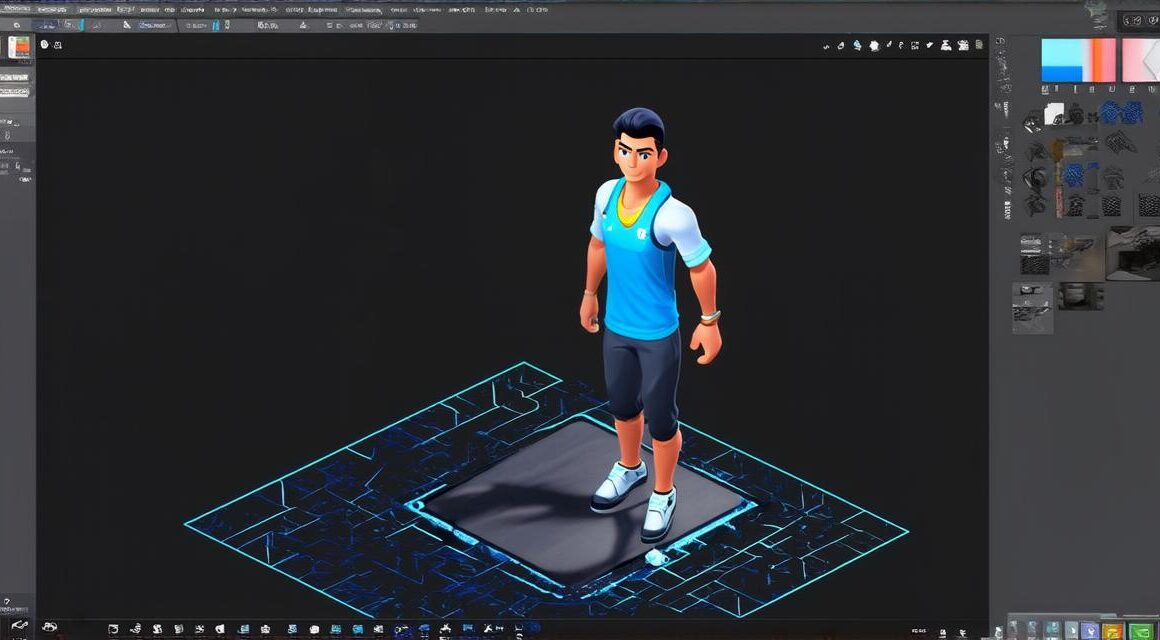
Creating a 3D character model is an essential task in the world of gaming and animation. It requires a combination of technical skills, artistic creativity, and attention to detail. In this article, we will guide you through the process of creating a 3D character model for Unity, step by step. We will also discuss some of the best practices and tips for creating engaging and realistic characters.
Let’s begin with the first stage: conceptualization.
The first step in creating a 3D character model is to come up with a concept or idea for the character. This can be anything from a simple sketch or doodle to a fully fleshed-out concept art piece. The key is to have a clear vision of what you want the character to look like and what their personality and backstory are.
Once you have a concept, it’s time to move on to the next stage: modeling.

The modeling stage involves creating a digital version of the character based on the concept you came up with in the previous stage. This is typically done using a 3D modeling software such as Blender, Maya, or 3DS Max.
There are several different methods for modeling a character, including sculpting, extruding, and subdividing. Sculpting involves shaping the character by adding and removing clay-like material from the digital surface. Extruding involves creating new geometry by pulling shapes out of existing ones. Subdividing involves dividing the character into smaller, more manageable pieces that can be manipulated individually.
No matter which method you choose, the key is to start with a basic shape and then gradually refine it until it resembles your concept as closely as possible. It’s also important to pay attention to details such as proportions, anatomy, and clothing.
Once you have a model that you are satisfied with, it’s time to move on to the next stage: texturing.
The texturing stage involves adding colors, patterns, and materials to the character model to make it look more realistic and visually appealing. This is typically done using a 2D image editor such as Photoshop or GIMP.
There are several different types of textures that can be used on a character model, including diffuse (the base color), specular (shiny areas), normal (to indicate surface direction), and displacement (to simulate bumps and grooves). It’s important to choose the right textures for your character based on their appearance and the lighting in your scene.
Once you have applied all of the textures, it’s time to move on to the next stage: lighting.
The lighting stage involves setting up the lighting in your scene to create a realistic and visually appealing environment for your character. This can be done using a variety of lighting techniques, including point lights, spotlights, and area lights.
It’s important to pay attention to the direction and intensity of the light sources in your scene, as well as the shadows and reflections they create. You should also consider the time of day and weather conditions, as these can have a significant impact on the overall mood and atmosphere of your scene.


