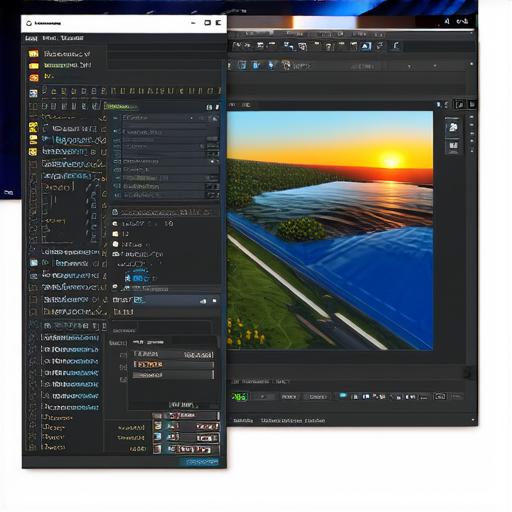
Game development has come a long way in recent years. With new technologies and tools available, it’s now easier than ever to create high-quality games. One of the most popular game engines is Unity 3D, which allows developers to create 2D, 3D, and augmented reality games.
Setting Up the Project
Before we dive into the world of game development, we need to set up our project. The first step is to download and install Unity 3D and Visual Studio on your computer.
Once you have both installed, open Visual Studio and create a new project. Choose “Unity Project” as the project template and give it a name. Make sure to choose the correct version of Unity for your operating system.
Key Features of Unity 3D
1. Cross-platform support: Unity supports multiple platforms, including Windows, Mac, iOS, Android, and consoles like PlayStation and Xbox. This means you can create a game once and deploy it across all these platforms without having to write separate codebases for each platform.
2. Easy-to-use editor: Unity’s editor is designed to be intuitive and easy to use, even for beginners. It comes with a wide range of tools and features that allow you to create games quickly and efficiently.
3. Asset store: Unity has an extensive asset store where you can find pre-made assets like characters, environments, and effects that can save you time and effort in creating your game from scratch.
4. Scripting support: Unity supports a variety of scripting languages, including C, JavaScript, and Boo. This allows you to write code in the language you’re most comfortable with.
5. Debugging tools: Unity comes with a range of debugging tools that allow you to identify and fix issues in your game quickly and easily.
Creating the Game with Visual Studio
1. Setting up the scene: The first step in creating a game is to set up the scene. This involves adding objects like characters, environments, and effects to the scene. You can do this using Unity’s editor or by writing code in C.
2. Writing scripts: Scripts are used to add interactivity and behavior to your game. Unity supports a variety of scripting languages, including C. Visual Studio makes it easy to write and debug scripts in C.

3. Debugging and testing: Once you’ve written your code, you can use Visual Studio’s debugging tools to identify and fix any issues. You can also test your game on different platforms using Unity’s build settings.
4. Publishing and deploying: When you’re ready to publish and deploy your game, Unity makes it easy to export your game files and submit them to the app store or marketplace.
Case Study: Creating a 3D Game with Unity 3D and Visual Studio
Let’s take a look at a real-world example of how Unity 3D and Visual Studio can be used together to create a 3D game.
Suppose you want to create a puzzle game where the player has to solve a series of puzzles to progress through the levels. To do this, you would need to set up the scene in Unity’s editor, write scripts to add interactivity and behavior to the game objects, and then use Visual Studio to debug and test your code.
Once you have everything working as expected, you can export your game files and submit them to the app store or marketplace for players to download and play.


